Introduction
Back to the old Mycroft A.I days, the users were able to run a script to install mycroft-core on different CPU architectures such as x86_64 or arm64 and on few different Linux distributions as well in a very short amount of time which helped to the software adoption.
The goal of the ovos-installer is to provide the same habit as with mycroft-core but with (we think) an enhanced experience ![]() . Mycroft AI led the way, we followed and took a different path…
. Mycroft AI led the way, we followed and took a different path… ![]()
What is ovos-installer?
The Open Voice OS Installer is designed to help the users (developer, hobbyist, etc…) to easily install the Open Voice OS and/or the HiveMind stacks.
Through a multilingual and simple Text-based User Interface (TUI), the ovos-installer asks basic questions to define what would be the best setup based on the answers provided by the user. Once ready, the ovos-installer triggers an Ansible playbook which provides consistency and idempotency ![]() .
.
What’s in the truck? 
Here is a quick overview of what the ovos-installer could provide.
OS |
x86_64 |
arm64 |
arm32 |
OCI |
venv |
RPi* |
GUI |
Skills |
|---|---|---|---|---|---|---|---|---|
| Linux | ||||||||
| MacOS | ||||||||
| Windows WSL2 |
*Raspberry Pi 3B+, 4B, 5B. Raspberry Pi below version 3B are not supported by the ovos-installer.
Mark 1 & Mark II & DevKit support 
Both of the Mycroft A.I legacy hardwares; Mark 1, Mark II* and DevKit are supported by the ovos-installer. There is nothing to do on the user side as everything is auto-detected and configured during runtime.
*95% working as the SJ201 dual channel still not optimal and LED ring is not working yet.
Burn the Raspberry Pi OS image 
This step is only requires if you plan to run Open Voice OS on a Raspberry Pi, Mark 1 or Mark II.
When running on a Raspberry Pi 3B+, the installer will not setup the GUI as the board doesn’t have enough resources to handle it ![]() .
.
Follow the screenshots in order to burn the Raspberry Pi OS Trixie Lite 64-bit. The “Lite” is important as it reduces the amount of packages installed and the resources consumed on the Raspberry Pi. It allows as well the ovos-gui service to leverage EGLFS which is the recommended way to run the GUI.
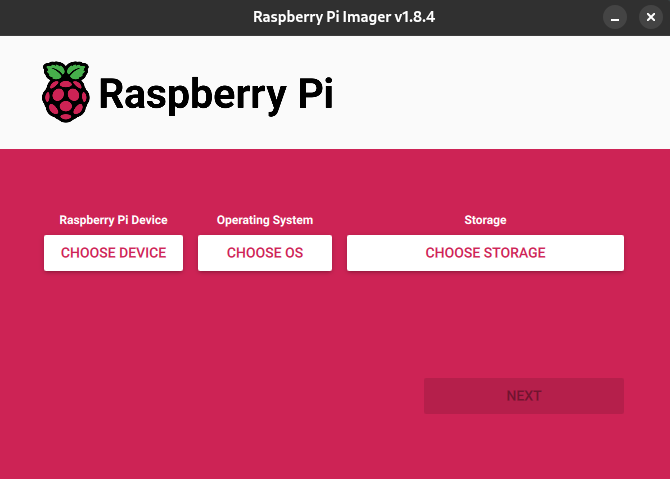
Install and run the Raspberry Pi Imager as it makes things simpler (but this just a recommendation not an obligation). ![]()
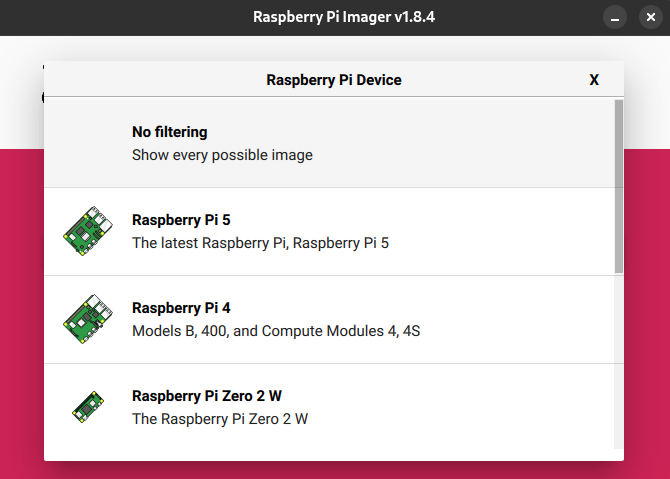
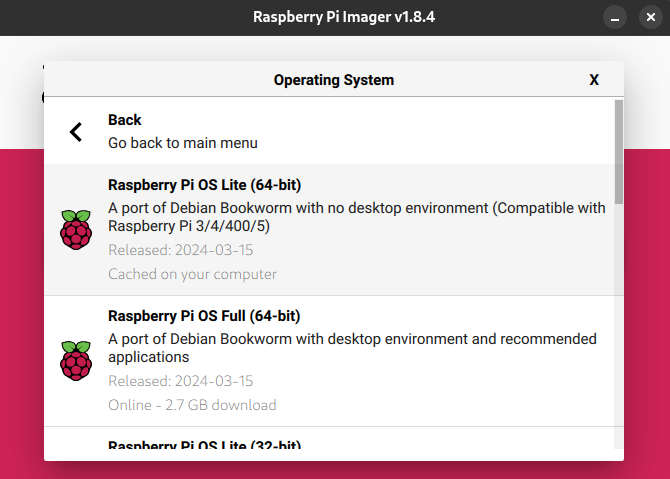
Choose “No filtering” as we want to list all the available versions of Raspberry Pi OS.
Select “Raspberry Pi OS Lite 64-bit*” (Trixie Feb 2026) as previously mentioned.
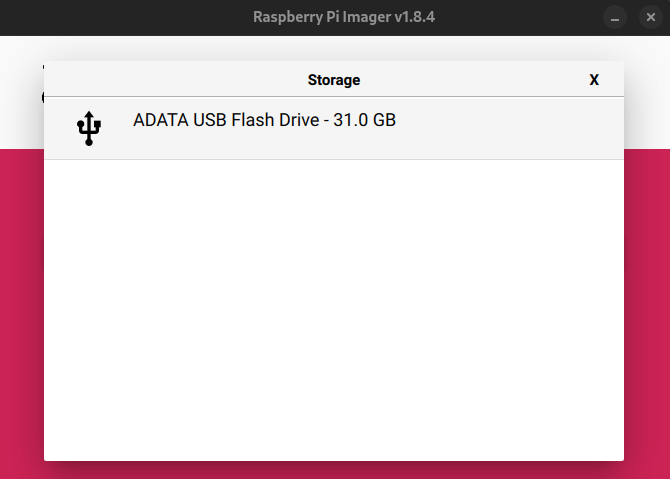
Select the storage where to burn the image, a fast device is always recommended for a better experience.
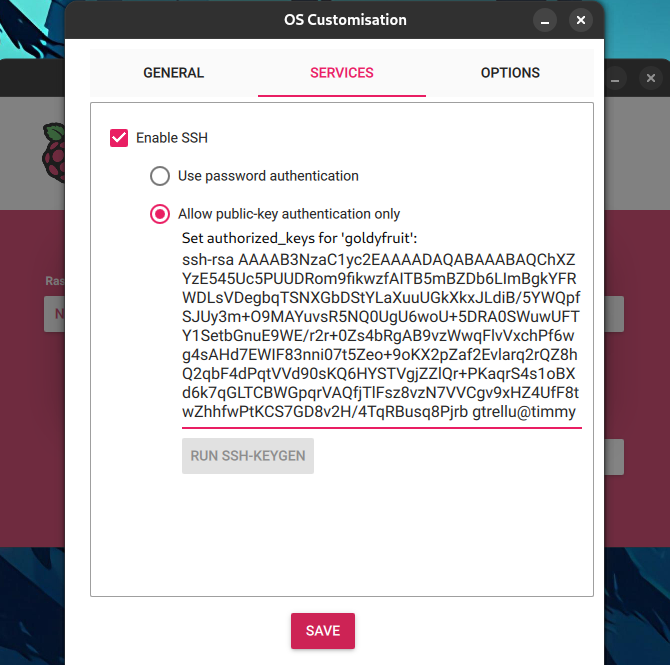
This step is important as this is where the WiFi configuration and the user credential are defined. If this is not configured properly then the Raspberry Pi will not be reachable.
Set the required settings to match your environment/requirements.

Make sure to check “Enable SSH”, here there is a SSH public key configured but you could stick with password authentication (based on the password set in the previous screenshot).
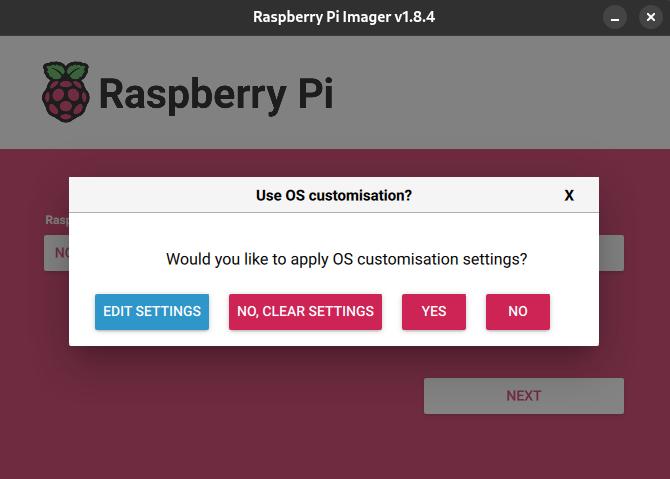
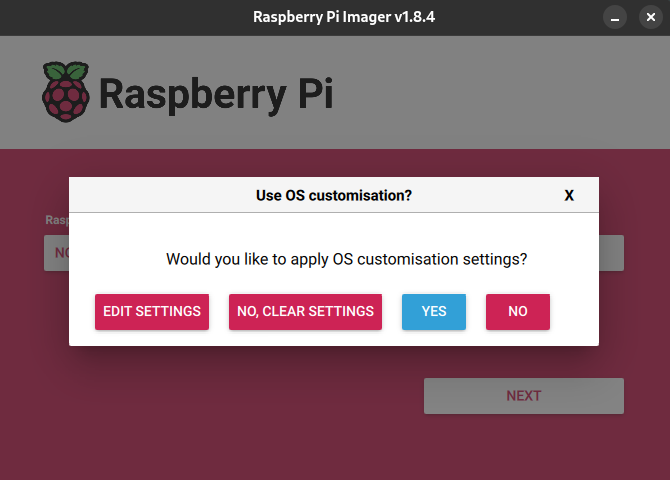
Make sure to select “Yes” to apply the customization.
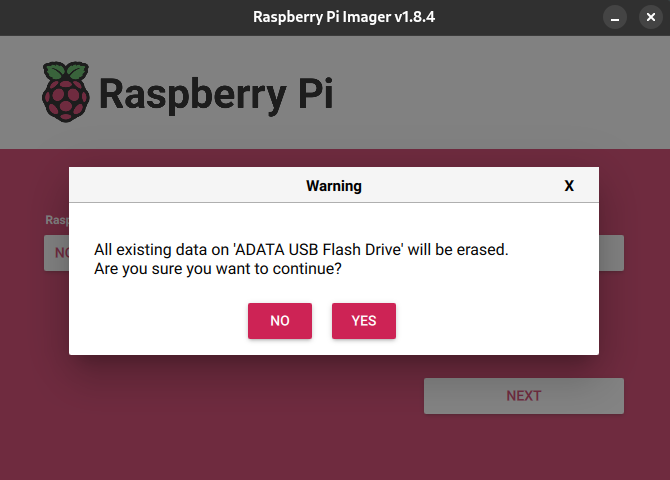
Select “Yes” to burn the image.
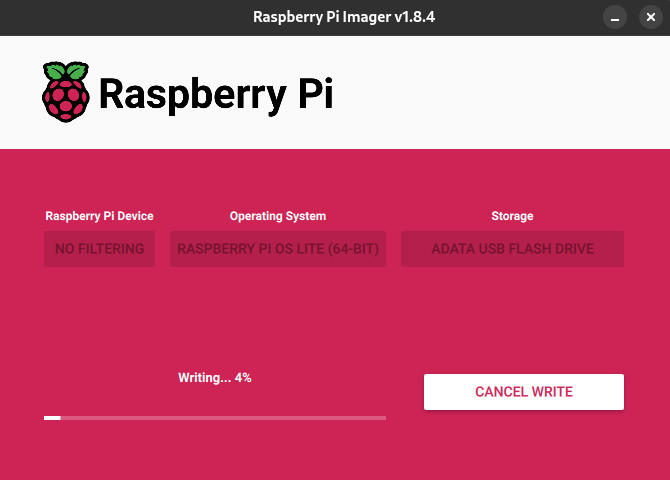
Wait for few minutes, maybe its time for a coffee/tea brake? ![]()
![]()
Done! ![]()
![]()
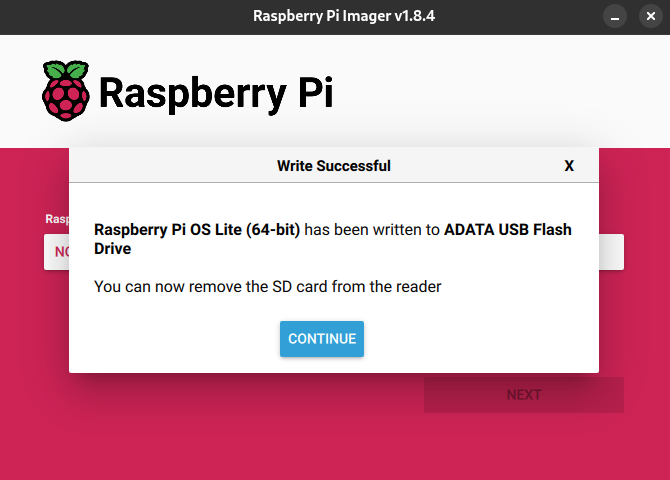
Once burned on the SD card or the USB drive, the Raspberry Pi is ready to boot on Raspberry Pi OS. ![]()
Run the ovos-installer and get OVOS installed
The installer will work on most of the hardware but in some cases such as when multiple microphones and/or speakers are present, the audio input/output could not be working as expected. “Exotic” HATs such as ReSpeaker microphones, etc… might requires some extra configuration which is not handle by the
ovos-installer(yet?).
This is the “generic” part of this howto as the next steps will be applied for Raspberry Pi users as well as for “regular” users. Only the ssh command will be different as this will be required to reach a headless device such as Raspberry Pi as well as the apt command based on the Linux distribution the installer is running.
Depending the hardware where the ovos-installer runs, the runtime could be from 5 minutes to 20 minutes (WiFi & Internet connectivity and storage might impact the timing as well).
# Only for headless/remote device
$ ssh -l goldyfruit 10.17.2.114

# Update package manager metadata
$ sudo apt update

# Update all packages first (kernel, eeprom, etc...)
$ sudo apt dist-upgrade -y

# Install required packages to run the installer
$ sudo apt install -y git curl

# Reboot (boot on new kernel, etc...)
$ sudo reboot

# Wait for the Raspberry Pi to reboot
$ ssh -l goldyfruit 10.17.2.114

# Run the installer
$ sudo sh -c "$(curl -fsSL https://raw.githubusercontent.com/OpenVoiceOS/ovos-installer/main/installer.sh)"
Once triggered, the ovos-installer will run some pre-flight checks and install the requirements such as Python, Ansible, etc… This step might take about 5 minutes depending the hardware.
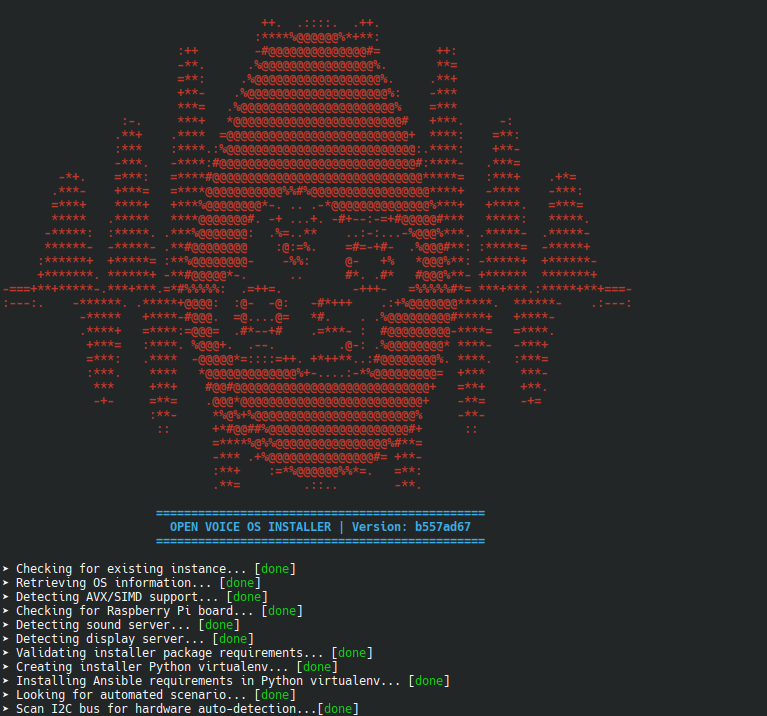
When all the requirements are settled, the Text-based User Interface (TUI) is displayed and asks to select a language, follow the wizard carefully. ![]()
![]()

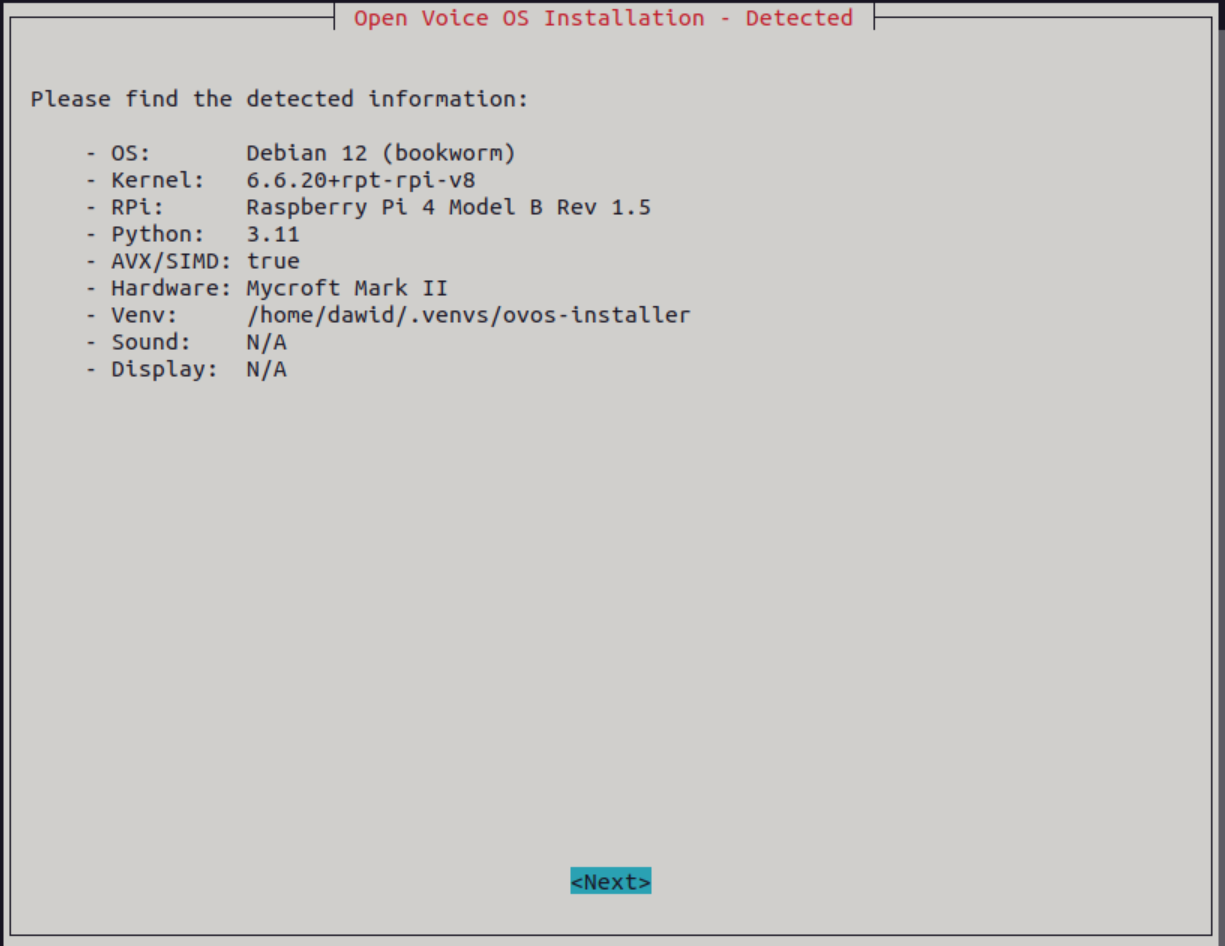
Summary of auto-detected information about the environment where the installer is running, no special action here just some valuable information. ![]()

Choose a method to install Open Voice OS, “containers” (Docker/Podman) or “virtualenv” (Python Virtual Environment). If you don’t know anything about containers then we strongly recommend to use the “virtualenv” method which will be easier to start with.

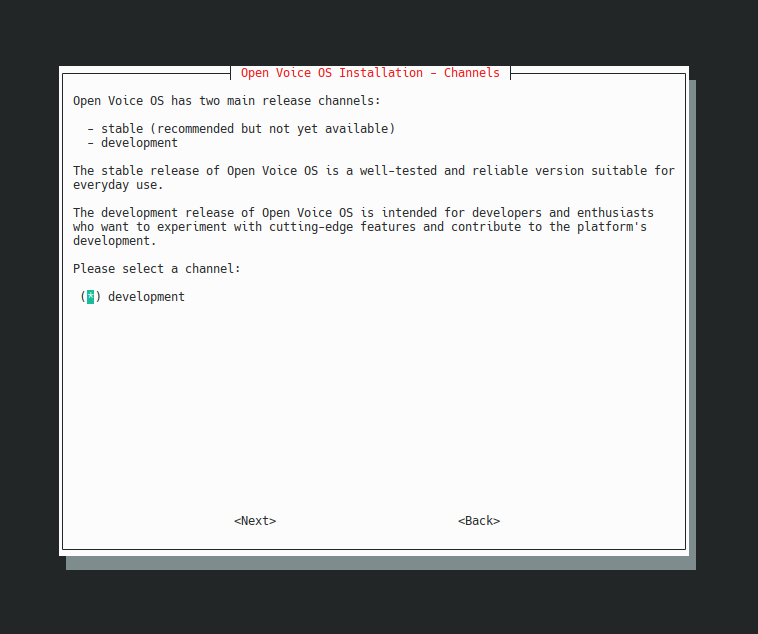
Select “development” as channel, once Open Voice OS will reach the production version, a “stable” option will be available.
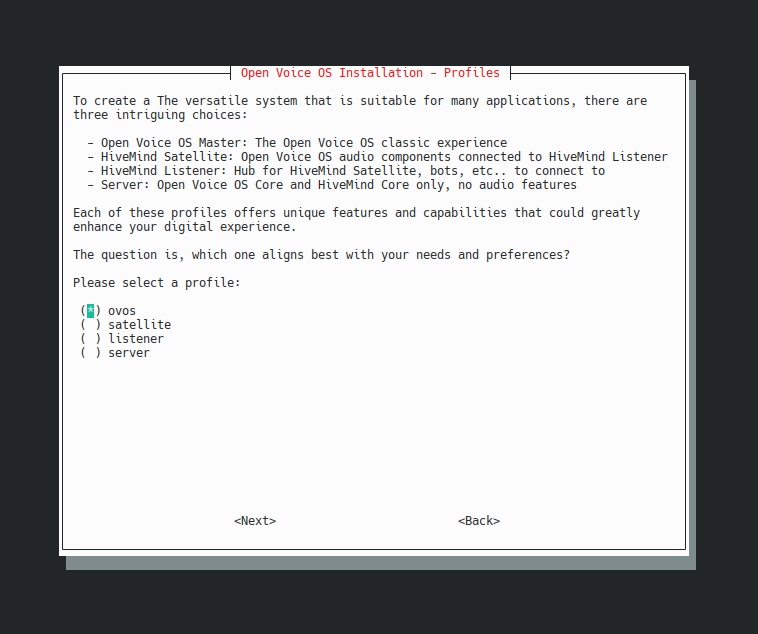
Choose the “ovos” profile. This profile provides the classic but exquisite ![]() Open Voice OS experience which consist to have all the required components on the same device.
Open Voice OS experience which consist to have all the required components on the same device.
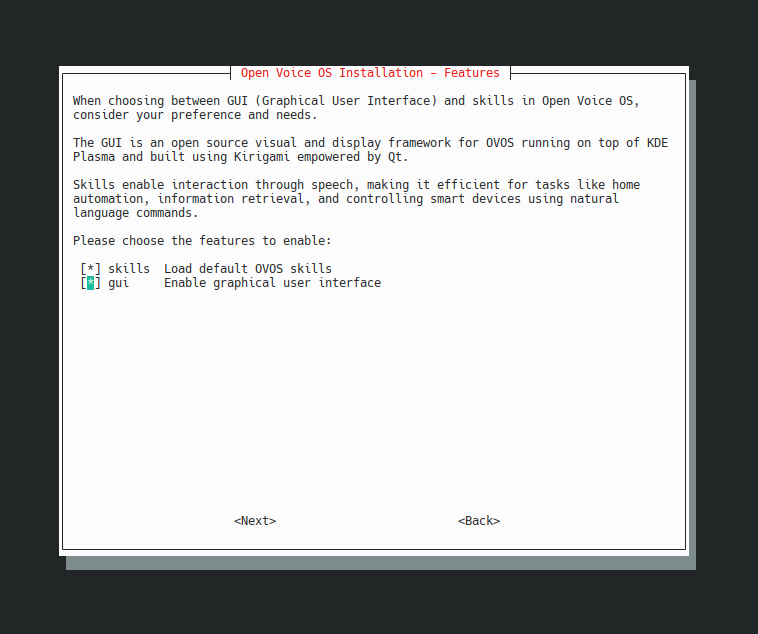
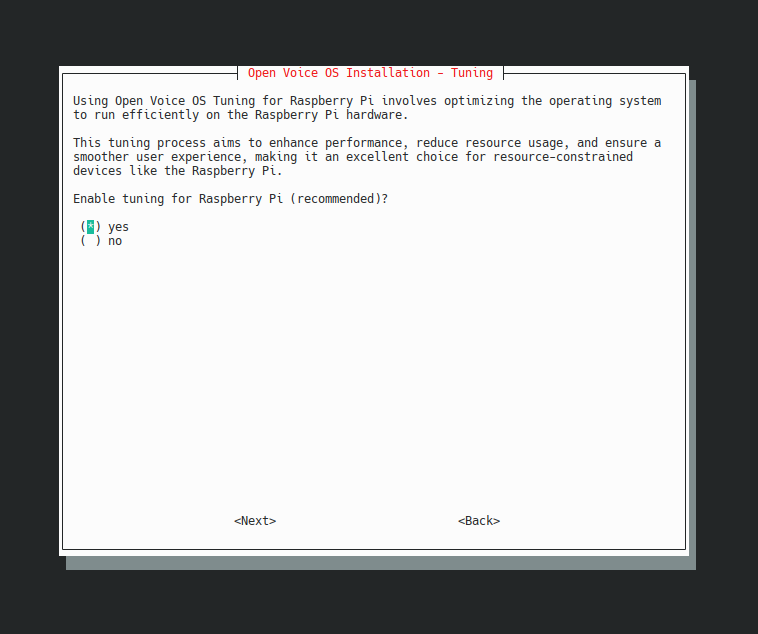
Select the features to install (by default on Raspberry Pi 3B+ the “gui” feature will not be available). The choice is yours, choose wisely!
The tuning option is recommended on any Raspberry Pi boards as the installer will tweak the operating system to ensure a better user experience. This screen will only be displayed if a Raspberry Pi board is detected.
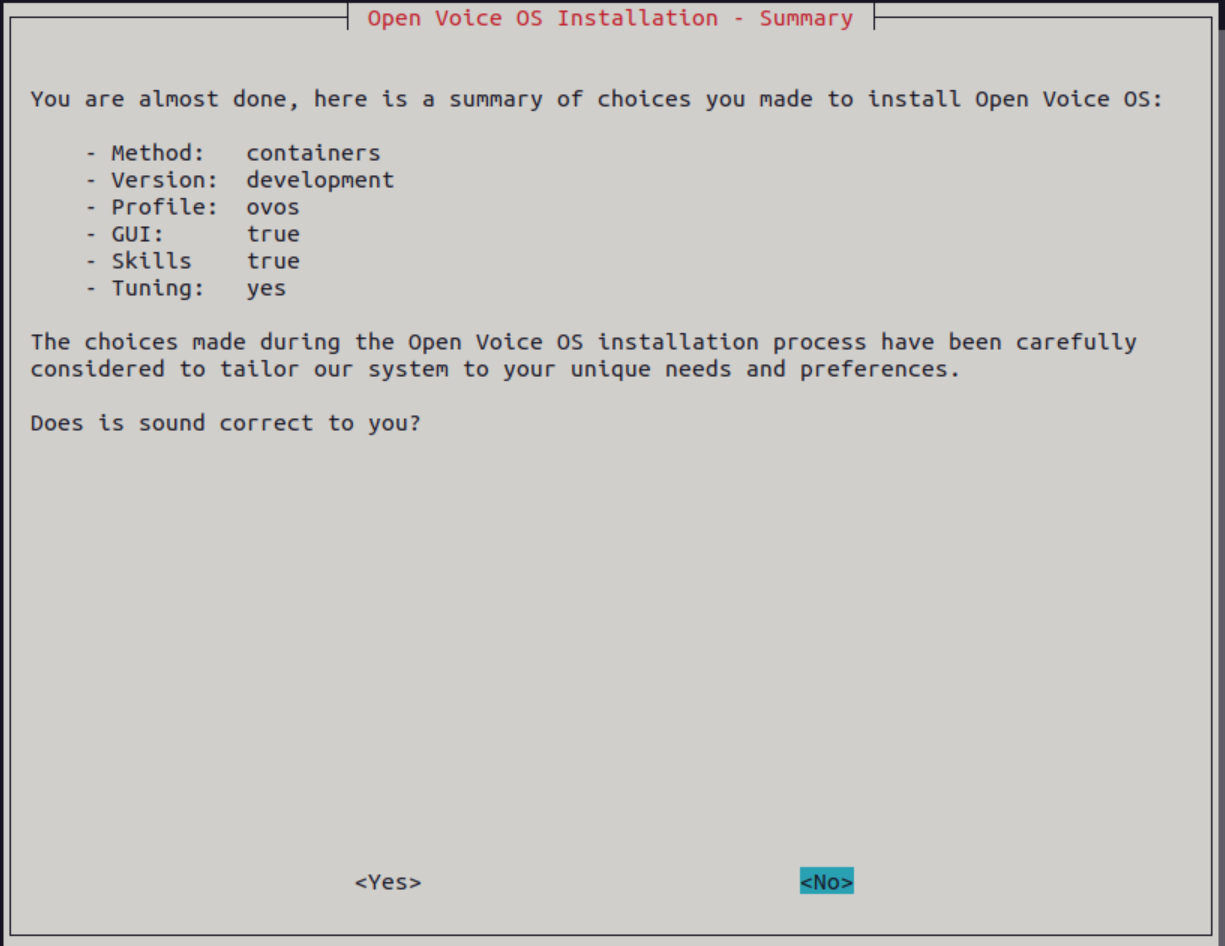
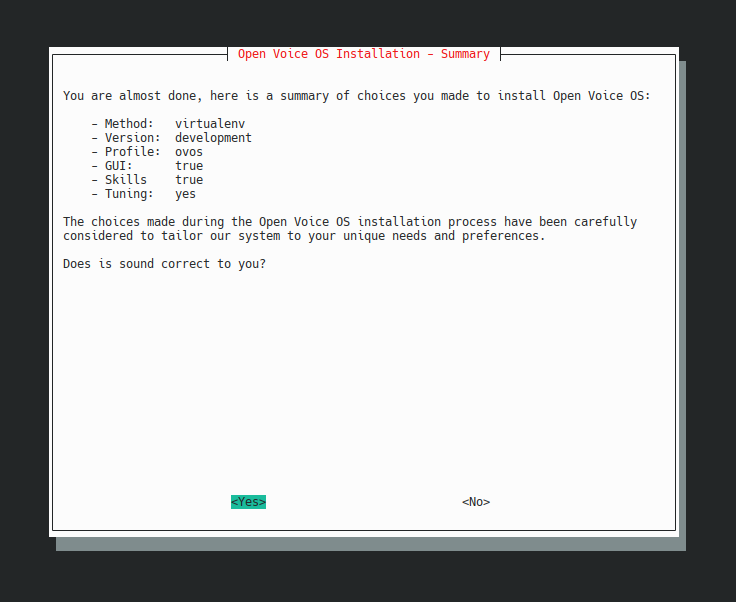
Just a quick and simple summary about what’s gonna be done. This is the only place where you can exit the installer wizard. ![]()
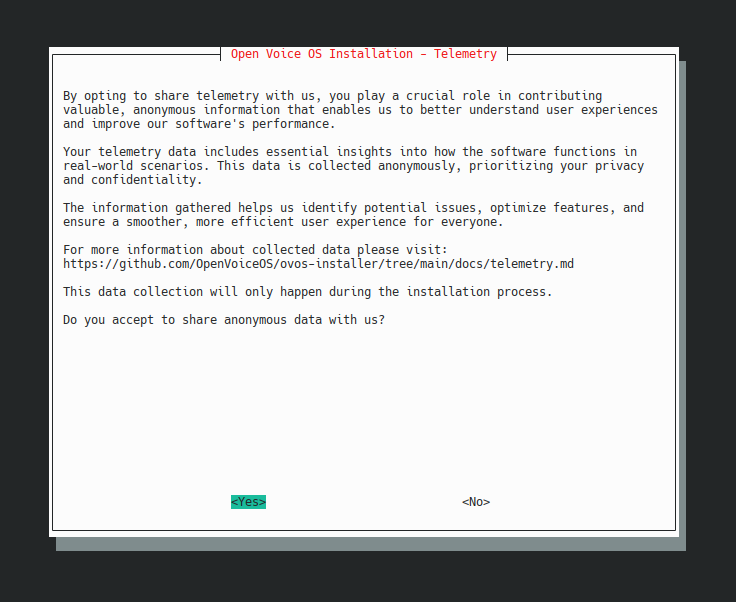
Please help us to improve Open Voice OS by sharing some anonymous information. Please read this for information about what is shared with us.
Here we go, the installation process starts, Open Voice OS gonna be installed! The process could take up to 20 minutes depending the hardware as previously mentioned, patience…
Maybe this time you could grab a piece of cake to join your coffee/tea? ![]()
![]()

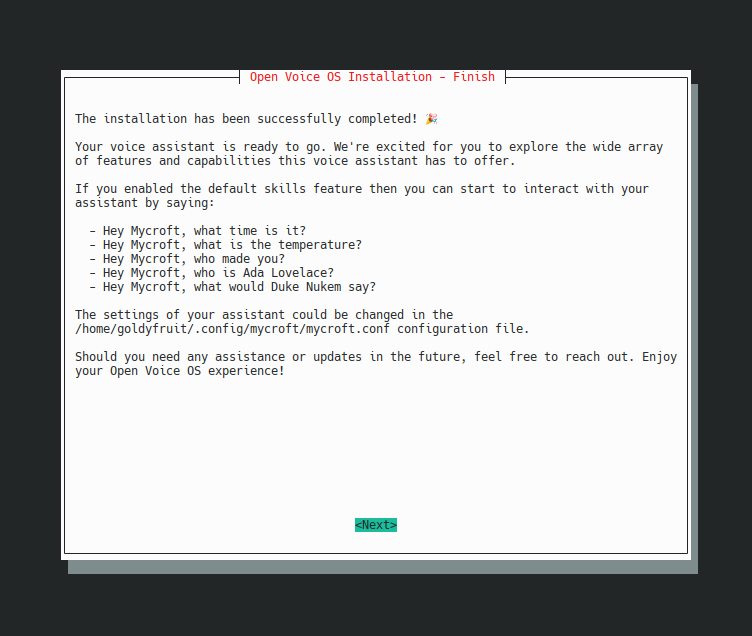
Congratulations, Open Voice OS is now installed and ready to interact with YOU! Here you got some examples of what to ask to your new friendly open source assistant. ![]()
![]()
Oh no, something went wrong! 


Sadly, the ovos-installer is not perfect, so don’t be mad at us if something goes wrong, its a community project backed by community members on their spare time. ![]()
![]()
![]()
![]()
![]()
Any issue happening during the installation process will generate a https://dpaste.com link with the installer’s logs.
Please share this link with us as it will be very helpful to understand the issue and help the community to find a solution to your momentary drama!
Conclusion
We hope this helped out and made your life easier and gave you a needed jump-start to enter into your Open Voice OS journey!
If not please share some constructive feedback about how this howto could be improved.
Enjoy, be kind and be happy! ![]()