Hi fhoogstraten.
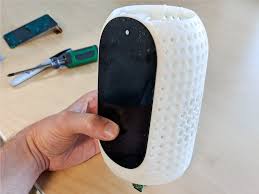
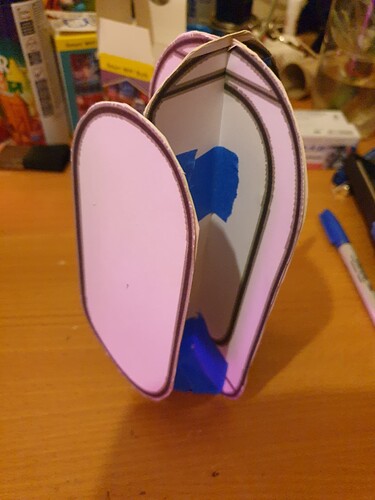
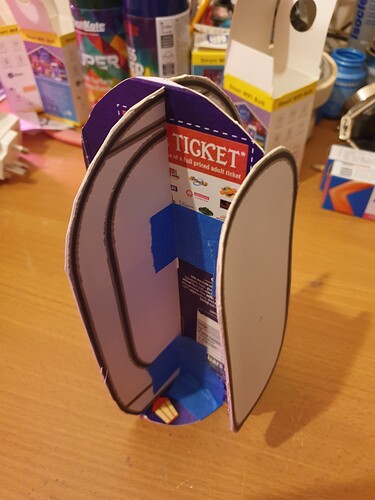
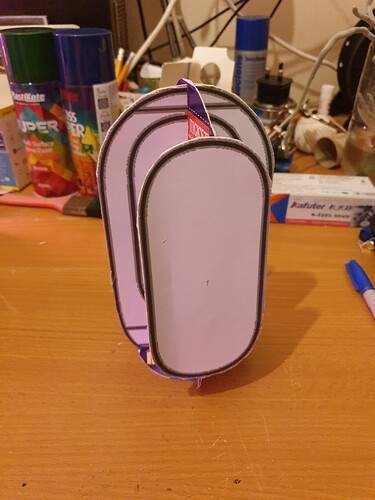
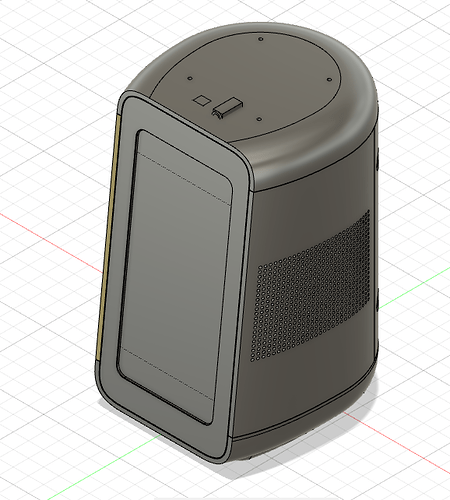
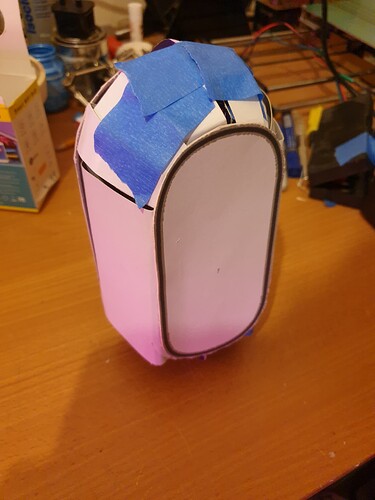
There are two prototypes one with a flat face with the screen and one with a the screen at a slight angle I think between 1.5% and 3.5% angle.
Flatface prototype full covered with cloth.
And this model with the angled screen
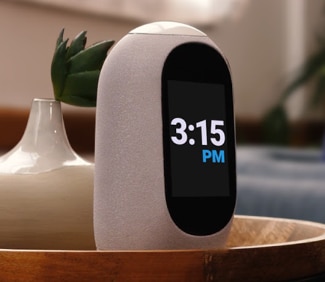
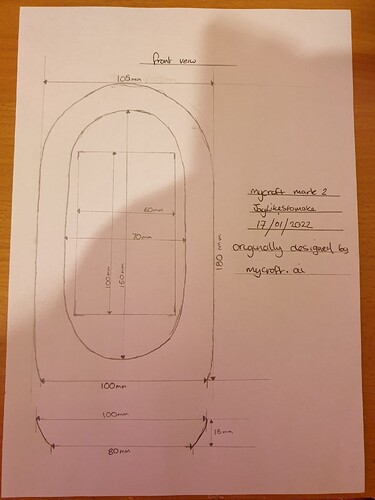
I am currently working on the angled version as there are clearer and more reference images.
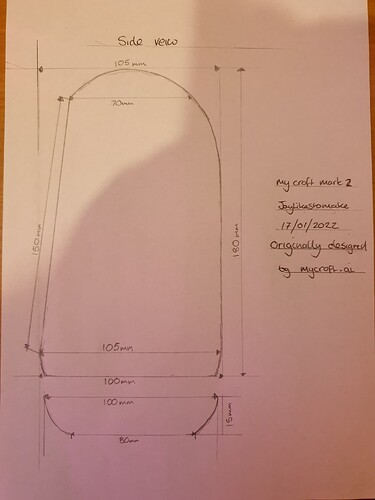
I have just finished or 95% finished working out the sizes from reference images and I am going to start modeling it in fusion 360 soon.
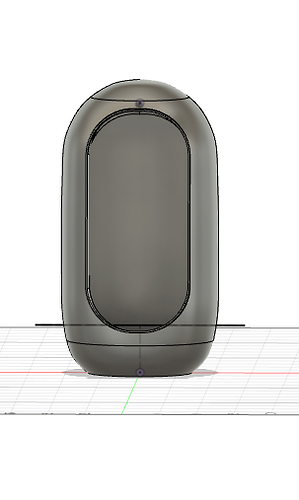
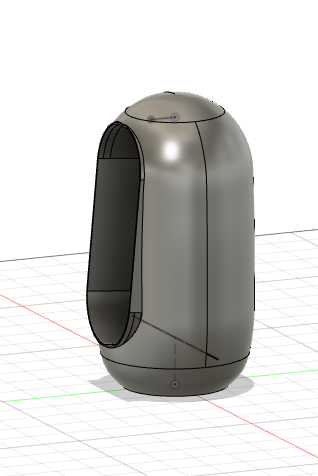
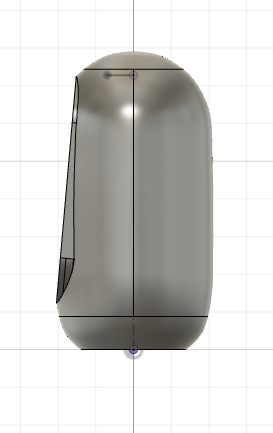
If the Mycroft team want to post the CAD file that would be fantastic and sooooooo much quicker to modify the design insted of rebuilding the entire design and greatly appreciated too 
I am going to have to make changes to internal electronics.
I will be trying to use a pi4 module and a cm4 carrier board with a few modifications removing the dual USB ports and network port and replacing them with a small PCB converting them to a fpc cable. One so I can have a usb port on the bottom at the back and so I can connect and disconnect the hdmi port and network port so I can slim the board down to fit inside the case.
I am aware pi4 modules create a lot of heat I am currently thinking m2 SSD cooling with a tiny blower how ever this could be detrimental to the mic arrays with vibrations mixing with the audio input. But only time will tell. Not the first project requiring some tinkering and playing with to get right.
I will also be using the display used to a mipis dsi screen and changing the mic array for one that’s cheaper. The respeaker 6 mic array is lovely but expensive, My current thinking is to use the respeaker 2 pi hat and some more fpc cables to attach the gpio pins and the hat in its final possition.
I also want to upgrade the Mycroft with some i2c sensors and create a new plugin to report there results back to my home assistant and give the Mycroft the information currently light sensor, air quality sensor, carbon dioxide sensor and temperature and humidity sensor. As well as adding a hardwired stop button to the top of the Mycroft to disable the mic.
I will try and reuse the speaker inclosure as I am no sound expert and it will also save a lot of time.
And I will try and post the results as I go and once completed I might post a full tutorial on putting it together in its eventual state.
I hope this helps everyone see my current design and map my steps and eventual
Thank you to everyone 
Jay
![]()




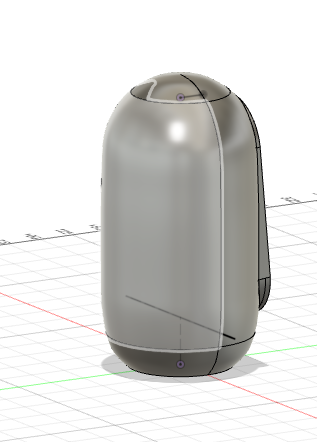

 but that’s a future project for sure.